


Your computer mouse is a crucial tool. You use it all day. Yet, a tiny setting called DPI often goes unnoticed. This single adjustment controls how your cursor feels. Understanding DPI can change your workflow. It reduces physical strain. It also boosts your efficiency. Let's explore this simple but powerful setting.
The Core Concept of Mouse DPI and Its Role in Daily Productivity
What is DPI?
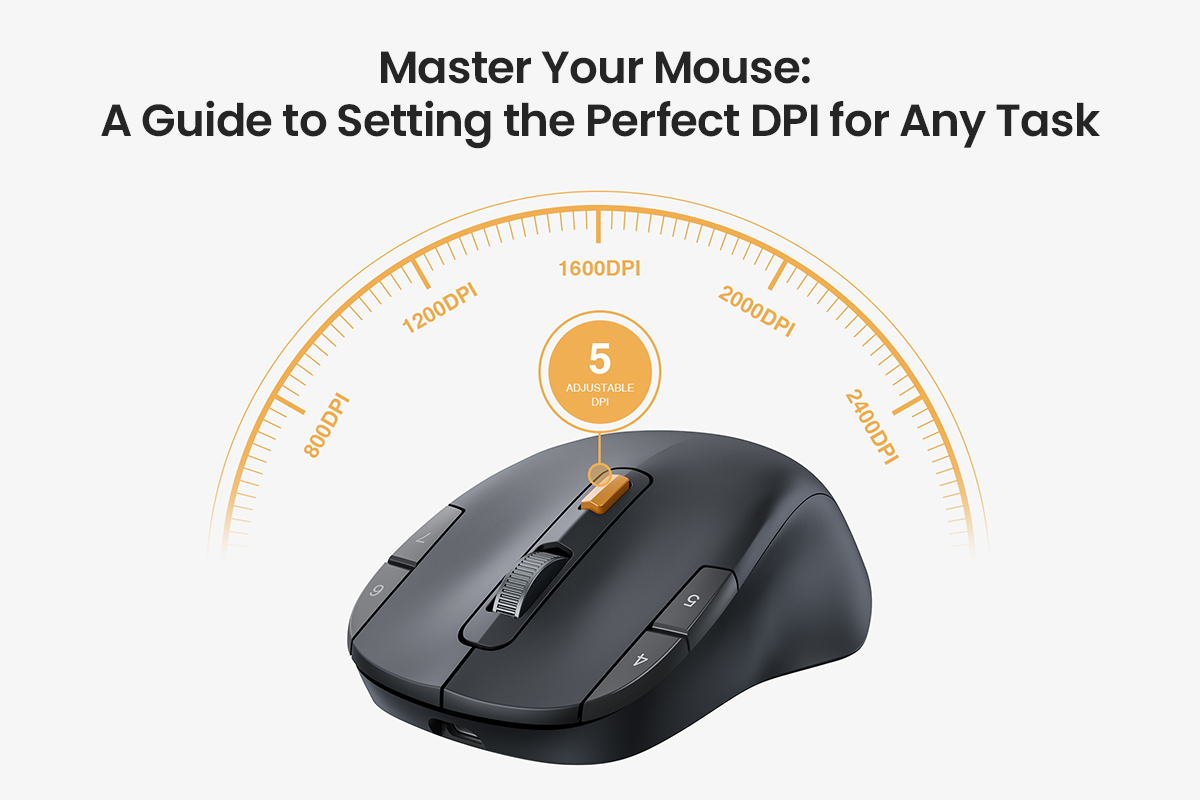
DPI stands for "Dots Per Inch," a hardware specification that measures your mouse's sensitivity by indicating how far the on-screen cursor moves based on physical mouse movement.
For example, with an 800 DPI setting, moving the mouse one inch moves the cursor 800 pixels; at 1600 DPI, the same physical movement moves the cursor 1600 pixels—doubling the on-screen result. A higher DPI number means a faster cursor. A lower DPI number means a slower cursor.
How DPI Affects Your Work
This setting directly impacts daily productivity: excessively low DPI feels sluggish, as if dragging the cursor through mud, requiring repeated lifting and repositioning just to cross the screen—wasting time and causing arm fatigue.
A DPI that is too high creates the opposite problem. Your cursor will feel jittery and uncontrollable. You will constantly overshoot small buttons. Highlighting text accurately becomes a challenge. You will waste mental energy just trying to aim. The right DPI setting removes this friction. Your mouse movements become an extension of your thoughts. A good office mouse will always let you adjust this setting.

A Practical Comparison Between High DPI Speed and Low DPI Precision
The High-Speed Approach
High DPI settings (typically 1600 or higher) prioritize speed, allowing the cursor to fly across the screen with minimal wrist movement. This is fantastic for navigating large digital spaces. Do you have an ultrawide monitor? Do you use a dual-monitor setup? A high DPI is very efficient. You can flick from an email on one screen to a spreadsheet on the other almost instantly. The main downside is a loss of fine control. Trying to click a tiny icon or a single cell becomes very difficult.
The Precision-First Approach
Low DPI settings (usually 400-1000) prioritize precision, translating larger, stable arm movements into slow, deliberate cursor motions. This is essential for detailed tasks. Graphic designers, photo editors, and 3D modelers all rely on low DPI. It gives them pixel-perfect accuracy. The obvious trade-off is speed. Navigating your desktop feels slow. You must use broad strokes of your arm to move the cursor.
A Simple Summary
Most users need a balance. Here is a quick breakdown of the two extremes:
- High DPI (1600+): Good for speed. Great for large monitors. Requires little desk space. It can feel hard to control.
- Low DPI (400-1000): Good for accuracy. Great for design. Requires a large mousepad. It can feel slow for general use.
Your Personal "Goldilocks" Zone for a Comfortable Baseline DPI
The Screen Resolution Factor
There is no single "best" DPI for everyone. Your perfect setting depends on a few factors. The most important one is your screen resolution. A DPI of 1200 will feel completely different on an old 1080p monitor compared to a new 4K monitor.
A 4K monitor has four times as many pixels as a 1080p monitor. This means your cursor has four times the distance to travel. A DPI setting that felt fast on 1080p will feel incredibly slow on 4K. This is the main rule: The higher your monitor's resolution, the higher your baseline DPI needs to be. This ensures the mouse "feels" the same.
[[related_products_1]]
A Simple Test
To find your ideal baseline, try this test: start at a common middle ground like 1600 DPI. Now, move your mouse from the absolute left edge of your screen to the absolute right edge. Did this feel like one comfortable, natural sweep of your hand? If you had to lift your mouse, your DPI is too low. If a tiny, tiny wrist flick sent the cursor flying, your DPI is too high.
Next, test your precision. Try to click a small target. Aim for the "x" to close a window. Aim for a single icon on your desktop. Can you land on it easily on the first try, or do you overshoot it and have to correct yourself?
You should now adjust your settings. Go up or down in small steps. Many mice let you adjust by 100 or 200 DPI. Keep testing until you find that "Goldilocks" number. It should balance broad speed with fine-point accuracy.
A Key System Setting
One last tip is crucial. Your computer's operating system (like Windows or macOS) has its own mouse settings. You will find a slider for "Pointer speed." You should leave this setting on its default middle notch.
You will also see a checkbox. It is often called "Enhance pointer precision." You must uncheck this box. This feature adds mouse acceleration. Acceleration makes your cursor speed unpredictable. It moves faster when you move your hand faster. This makes it impossible to build muscle memory. Disabling it gives you a pure, 1-to-1 movement. Your mouse's hardware DPI should be the only thing you change.
The Productivity Playbook for DPI Settings Across Different Workflows
General Office Work
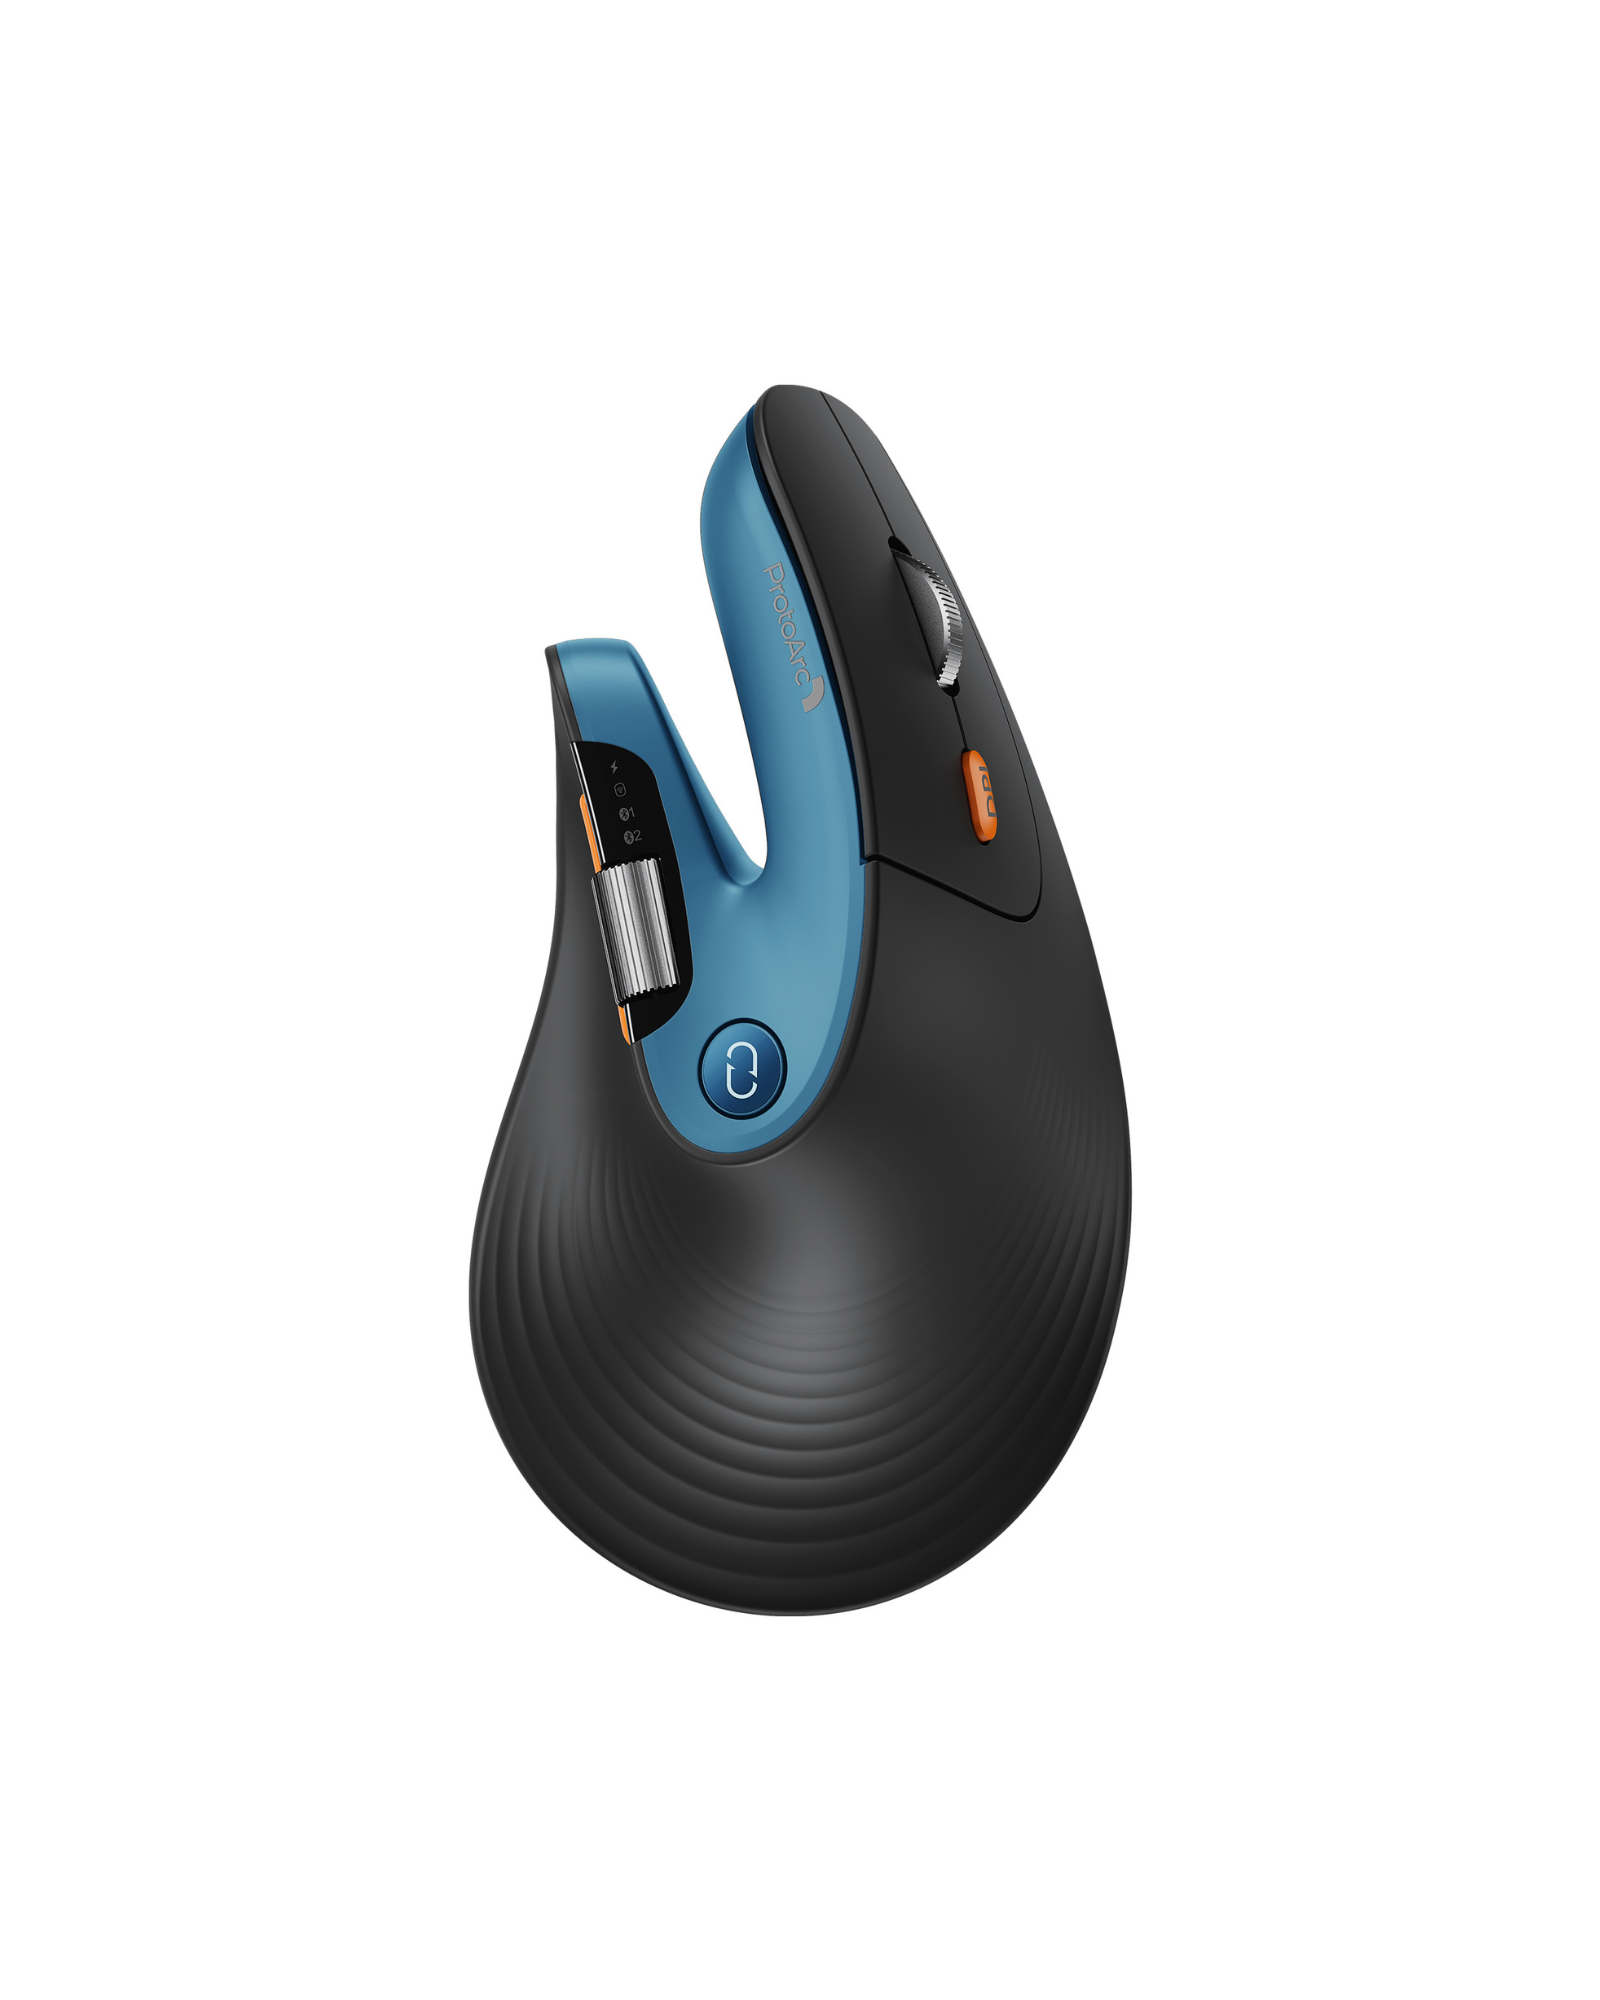
The true power of a modern mouse is its ability to change DPI on the fly. Most people do not perform one single task all day. You might answer emails for an hour. Then you might work in a complex spreadsheet. A good office mouse understands this. It will have a dedicated DPI-switch button. This button is often right behind the scroll wheel.
For general work, you want a balance. This includes web browsing, writing documents, and managing your inbox. A setting between 1200 and 1800 DPI is often perfect. It is fast enough to navigate. It is also stable enough to easily click links and menu items.

Detailed Creative Work
Your needs change when you do creative tasks. This includes photo editing, graphic design, or working in CAD software. Precision is the number one priority. Speed is your enemy. You should tap your DPI button to switch to a low setting. A range of 400 to 1000 DPI is ideal. This gives you slow, steady, and predictable control. You can make pixel-perfect selections.
Large Spreadsheets
Working with data is a hybrid task. You need to fly across hundreds of columns and rows. This favors a high DPI. But you also need to accurately select a single cell. This favors a low DPI. This is the best use case for a DPI-switch button. You can use a high DPI (like 1800+) to "travel" across the sheet. Then, you tap the button to drop to a low DPI (like 800) to select your target cell. This is the secret of the best office mouse users.
Hardware Considerations Beyond DPI for a Complete Workstation
The Ergonomic Factor
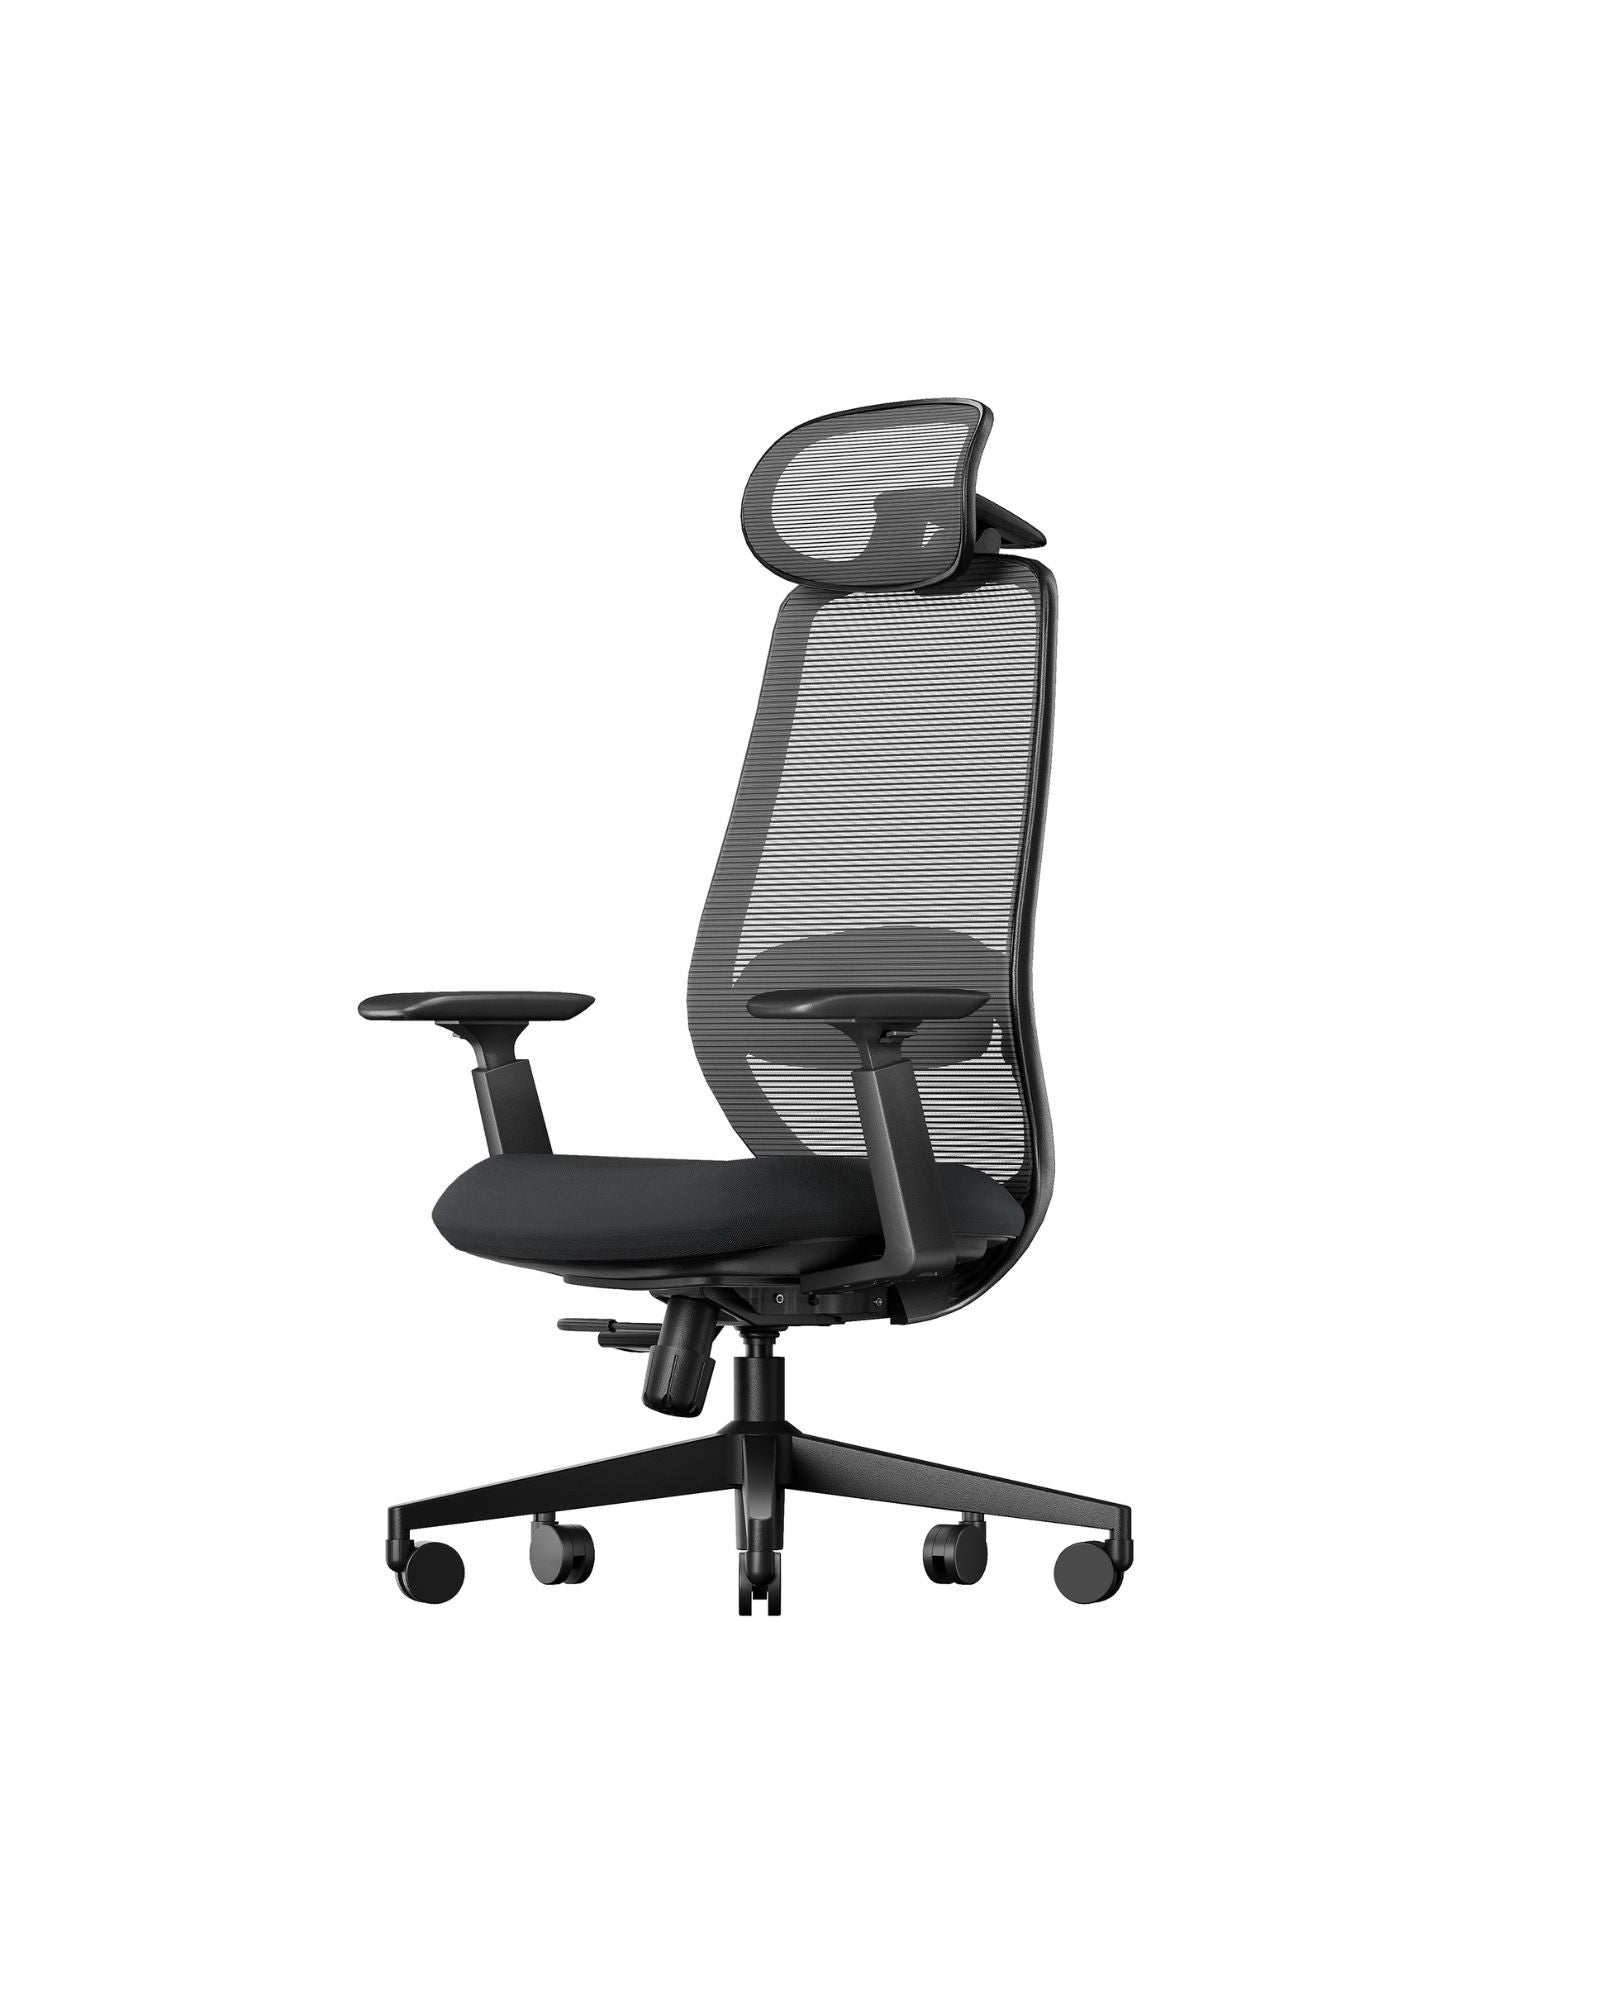
A perfect DPI setting is only one part of the equation. The physical mouse you hold is just as important. You cannot be productive if your mouse is uncomfortable. A wireless ergonomic mouse is designed to support your hand. It often has a vertical or sculpted shape. This puts your hand in a natural "handshake" position. This position reduces strain on your wrist. A comfortable mouse allows you to make controlled movements without pain.
The Wireless Factor
A wireless connection is also more important than you think. A mouse cable is not just messy. It has weight. It creates physical drag. This drag adds a tiny, inconsistent resistance to every move you make. It can snag on the edge of your desk. This will ruin your fine-tuned precision. The best wireless mouse with a modern, low-latency connection eliminates this problem. Your movement becomes perfectly smooth. This allows your precise DPI setting to feel consistent every single time.
Your Newfound Control Over the Cursor
Finding your ideal DPI is not a one-time setup but a new way of working. Test your settings today considering your monitor and tasks; by tailoring sensitivity, you'll unlock greater efficiency, reduce strain, and master your workflow.


